
Our Secret Tool to Modelling on a Deadline
- Jonathan Jankowiak
- Apr 16
- 4 min read

In the industry of VFX, we often run into harsh deadlines and quick iterations being in demand. Despite popular belief, we need to find time savers and shortcuts to speed up our pipeline. No I'm not talking about AI. In fact, this isn't a relatively new tool at all. What we use at Horsehead is Photogrammetry! Photogrammetry is a tool that we leverage a ton for multiple use cases. You might be familiar with this cloth, it was used in the first case study with the coffee.

This was actually entirely a photogrammetry model that I touched up a very little bit an slapped into our scene. What made this so cool is that it took at most 30 minutes from taking photos to being in Houdini. This process is easy as long as we think about what we are scanning. Don't think you can scan your glass or plants and think it will come out perfectly the first time. There's a ton of resources about photogrammetry so I wont harp on the steps, but I do want to point out a few tips and tricks!
Get a clean setup: The photos is hands down the most important part, and if you have mediocre photos, you WILL get a mediocre scan. In the photo you can see a setup that we have been using. The most important thing to notice is the background, I bought one of those
5-in-1 reflectors you can buy on amazon and used the black as a backdrop. We want the closest thing to a solid color.
If we have a symmetrical object, like this hat here.

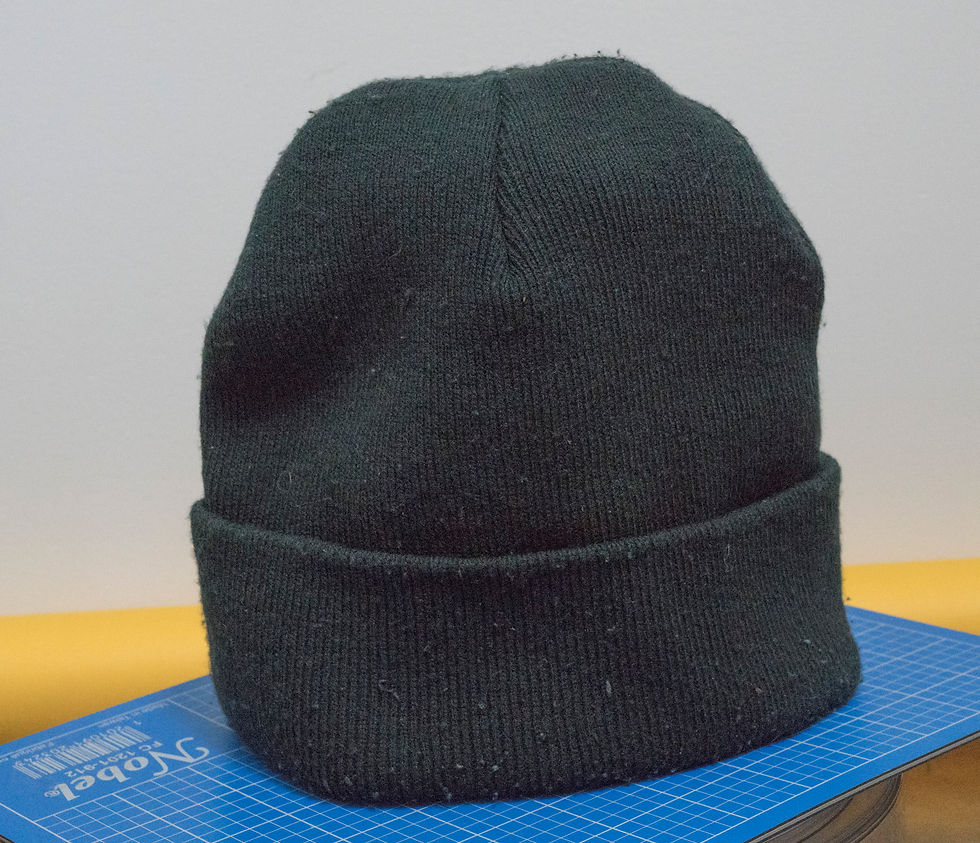
2 of many photos of the object (notice how the front and back look similar).

What happens is, this background that has detail (in the shadows vs highlights) is being tracked by our software and since its following this background it thinks "oh this object isn't moving" or "Its spinning back and forth". Now we can in the software mask out the background, but its honestly faster to focus on getting good photos. Instead, lets push this background until everything is blurred into a smooth black.
Spin instead of move:
If you're coming in to this blog with experience of photogrammetry, you probably have tried the "holding your camera and moving around the object you want to scan". This in theory is fine and you can get good results, but in my experience this method especially on smaller objects can be very prone to breaking. If you do a bookshelf or a building, it might be best to move around. If you have something like a laptop to scan, try and look for something like a lazy suzan or turntable, slap a table or workspace on it, and spin your object as you take your photos and if paired with a solid backdrop, you will get near perfect scans!
Check your Shadows:
This one stumped me for a bit as to why my scans have been getting confused like explained with the first tip, that it thinks its a static or moving back and forth without capturing detail in the back. After checking the backdrop, we noticed another type of constant in our image. No matter how many times our object spun, our shadows are pointing in the same direction. We used no special light rig but instead a wall mounted light. The immediate fix was to batch crop every image to remove as much shadow as possible, but obviously a manual operation isnt a permanent fix. Instead, we got a ring light like TikToker's use to completely flatten the image and remove shadows! Now we are completely fixed!
Look for detail in your scanning object to track:


As repeated to death, the photos are the most important part, and even more important is detailed tracking information. If I try to scan a clear glass object, what do you think the software can try to grab onto if all it has is refractions in the glass? Another example of bad detail is something like a flower. While theoretically can be done, every time we spin or gives the air any turbulence to move the plant, we cause it to jitter or shuffle or bounce and now tracking is going to be impossible if the object is moving while taking photos. So its always good to thing to plan your scan before you do it half hazardly, wait 20 minutes on the computer to scan and be disappointed. Look at your object and make sure there is good detail for your computer to track. Some people sacrifice color data by applying temporary textured spray paint or a powder, we avoid that and instead model our glass objects. It's simply not worth it sometimes. Is it worth retopologizing or using raw scan?:
To come back to the idea of planning your scan, we come into one more fork in the road. What do we do once we have our scan? Do we take the time to work it in Zbrush and Substance, making it beautiful at all angles with seamless UV's, or do you let it be and just slap it into your scene? Both paths are legitimate, as long as the situation fits. But don't be dissuaded by the idea of scanning and placing in the background. It can save a ton of time. Quad Mesh your Scans in blender:
If we do however need to fix up our geometry, there's a nifty technique that we use called retopology. While that's more of an optimization step, we can utilize the tools used in retopology to make the modelling of our heavy scan into something lightweight and efficient for our everyday CG. These are a few of the questions that I ask myself every time we do a shoot. It speeds up our pipeline knowing some of the faults and challenges that we will come across. Of course, were not saying it's foolproof and and the fastest business out there, but its enough that we are confident to share with the world the things we've learned! Let me know what you'd like to see next!


Comments